Primer
What every part in an HPLC does, and how it fails
August 15, 2026
An HPLC has about a dozen parts in it that wear out. Several of them produce a symptom that looks like one of the others, which is why the wrong part gets replaced so often.
That is the expensive mistake. The part costs what it costs. The day is the real bill, and the instrument is still broken at the end of it.
This guide is for anyone who has been put in front of an HPLC without being shown the inside of it. That includes analysts moving across from a different technique, people who learned the chemistry and met the instrument later, and anyone who has been told to run a sequence on a system they did not set up.
The chemistry is taught well. The hardware often is not.
The whole system is one stream
Everything from the solvent bottle to the waste bottle is a single stream of liquid under pressure. Solvent is drawn from a bottle, pushed by a pump, sample is added to it at the injector, the mixture passes through a column that separates it, and a detector reads what comes out.
Five stations. Every part that wears out sits at one of them.
Here they are with the parts named, which is the same picture with the detail filled in. It is worth printing and keeping near the instrument.
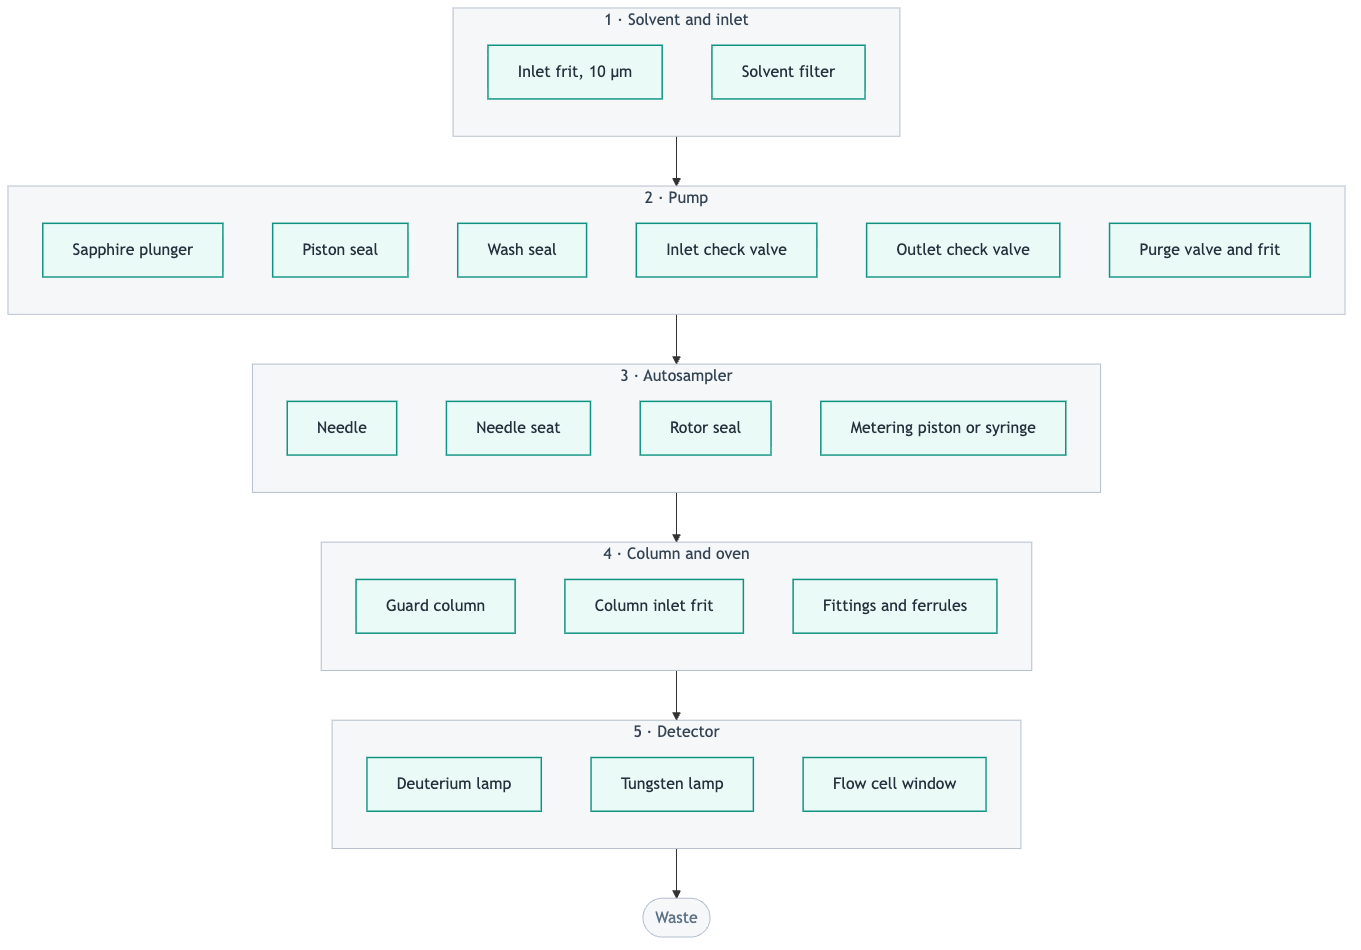
Every wear part in an HPLC, at the station it belongs to.
That fact is the most useful thing on this page, so here it is plainly:
Where a symptom shows up tells you which station to look at.
Pressure problems live in the pump and upstream of it. Injection problems live in the autosampler. Baseline problems live in the detector. Peak shape problems live in the column, most of the time.
The rest of this guide walks the stream from the bottle to the detector, and at each station covers four things: what the station does, which parts wear, what you see when they go bad, and how long they tend to last.
Station 1: the solvent bottle and the inlet line
What it does
A tube goes into each solvent bottle. On the end of it is a filter, usually a small glass or stainless frit rated around 10 micrometres. The pump pulls solvent up that tube.
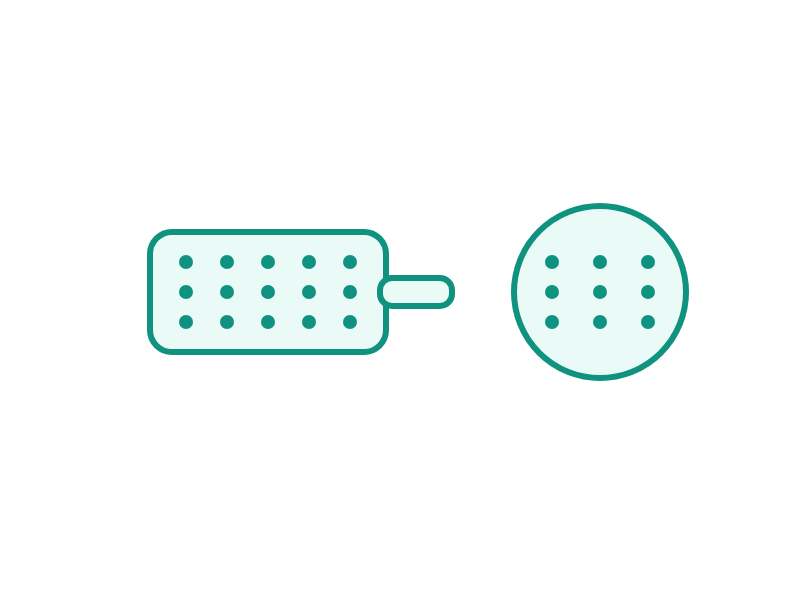
The filter is there to keep particles out of the pump. Buffer salts precipitate, bottles collect dust, and microbial growth happens in aqueous mobile phase left standing. Any of that would otherwise reach the check valves and the seals.
What wears
The frit blocks. That is the only failure mode, and it is gradual.
What you see
A blocked inlet frit starves the pump. The pump tries to pull solvent through a restriction, cannot fill the chamber completely, and the pressure trace starts to swing. On a binary or quaternary system it usually affects one channel, so the composition drifts as well and retention times move with it.
If you disconnect the inlet line and the pressure steadies, the restriction was upstream of the pump.
How long it lasts
There is no interval for this. It depends entirely on what you put in the bottle. A lab running phosphate buffer at pH 7 with no filtration will block frits far faster than a lab running acetonitrile and water. Replace on symptom, and filter your buffers.
A frit is one of the cheapest parts in the system. It causes a symptom that looks identical to a failing check valve, which is a much more expensive part. Check the cheap one first.
Station 2: the pump
This is where most of the wear in an HPLC happens, and where most of the parts you will ever buy live.
What it does
The pump moves mobile phase at a set flow rate against whatever back pressure the column produces. It does this with a piston, called a plunger, moving in and out of a chamber, and two one-way valves that decide which direction the liquid goes.
On the intake stroke the inlet check valve opens and the outlet closes, so the chamber fills. On the delivery stroke the inlet closes and the outlet opens, so the liquid goes to the column. That is the whole mechanism.

What wears
The plunger. A polished rod, normally sapphire, sometimes ceramic. Sapphire is used because it is hard and chemically inert. It does not wear quickly, but it does get scored, usually by dried buffer crystals.
The piston seal. A polymer ring that seals around the plunger while it moves. This is the part that wears fastest in the pump, because it is the only soft part in a joint that moves under pressure thousands of times an hour.
Seals come in more than one material, and the right one depends on your mobile phase. Check which one your pump was built with before you order, because the wrong material fails early and it will look like a bad batch rather than a wrong choice.
The wash seal. A second seal behind the main one, part of the seal wash system. Its job is to keep buffer off the back of the plunger. Wash solvent, usually water with some organic in it, flows through that space and rinses salt away before it dries.
This part is easy to ignore and expensive to ignore. If the seal wash stops working, buffer dries on the plunger, the crystals score the sapphire, and the scored sapphire destroys every seal you fit after that. That is the mechanism that makes people replace a seal twice in a month.
The check valves. Inlet and outlet, usually a ruby ball sitting on a sapphire seat. They fail by not seating, which means a particle is holding the ball open, or the seat is worn.
The purge valve and its frit. The purge valve lets you flush the pump without pushing solvent through the column. The frit inside it blocks like any other frit.
What you see
Unsteady pressure. This is the classic pump symptom and it is worth knowing what it looks like.
A healthy pump. The trace is close to flat and the small ripple repeats with the piston stroke.
A check valve that is not seating, or a worn seal. The swing is large and it follows the stroke, so the pump is losing flow on one half of every cycle.
A healthy pump gives a nearly flat pressure trace with a small ripple that repeats with the piston stroke. A pump with a check valve that is not seating, or a worn seal, gives a large swing that follows the same stroke, because the pump is losing flow on part of every cycle.
Other things you see:
- A wet pump head, or crust around it. A leaking piston seal. White crust is dried buffer, which tells you the seal wash is not doing its job either.
- Retention times drifting between injections. On a gradient system, one channel delivering less than it should changes the composition, and composition changes retention.
- Pressure that will not reach the value it used to. A leak somewhere, or a check valve passing liquid backwards.
The difficulty is that a check valve, a piston seal and a blocked inlet frit produce symptoms that overlap. Three parts get replaced, usually in the wrong order. There is a free test that separates them, and it is covered in Pressure that will not settle.
How long it lasts
Piston seals are commonly replaced on a 6 month schedule in labs that run continuously. Treat that as a starting point rather than a rule, because it depends on the mobile phase, the pressure and the hours. A pump running aqueous buffer at 350 bar wears seals much faster than one running methanol at 80 bar.
Check valves have no interval. They are cleaned or replaced when they fail.
Plungers last years if the seal wash is working, and months if it is not.
The thing to replace together
Replace the plunger and the seal at the same time when the plunger is scored. Fitting a new seal to a scored plunger gives you a seal that fails early, and you will do the job twice. Inspect the plunger under magnification when you have it out. If it is not smooth, it goes.
Station 3: the autosampler
What it does
The autosampler takes a measured volume of your sample and puts it into the flowing mobile phase without stopping the pump. It does this with an injection valve, which is a disc with ports in it that rotates between two positions.
In the load position, the sample is drawn into a loop while mobile phase bypasses it. In the inject position, the valve rotates and mobile phase is redirected through the loop, carrying the sample onto the column.

What wears
The rotor seal. The polymer face inside the injection valve, usually Vespel or PEEK, with grooves machined into it that connect one port to the next. It is pressed against a fixed stator and rotates against it under full system pressure. It wears, and when it does, liquid crosses between ports that should be isolated.
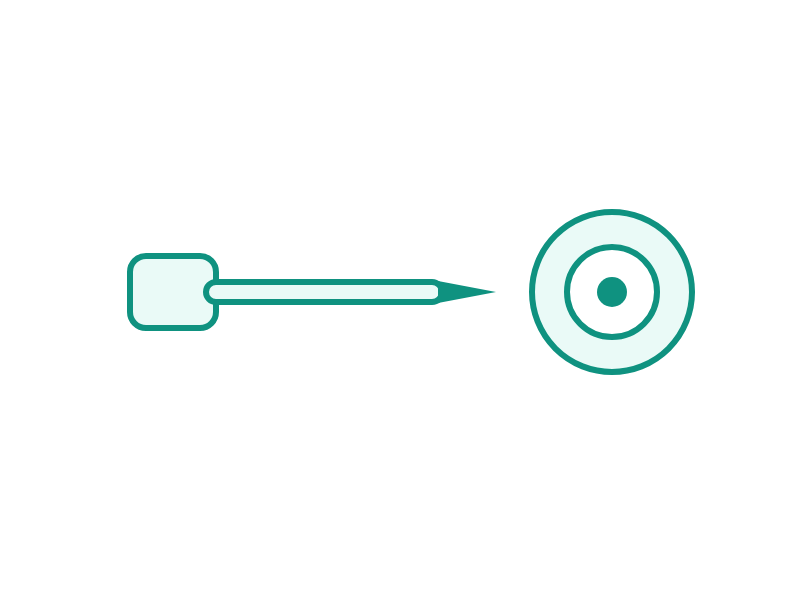
The needle and the needle seat. The needle draws sample from the vial and then seats into a port to inject. The seat is a soft part, usually PEEK, and the needle presses into it every injection.
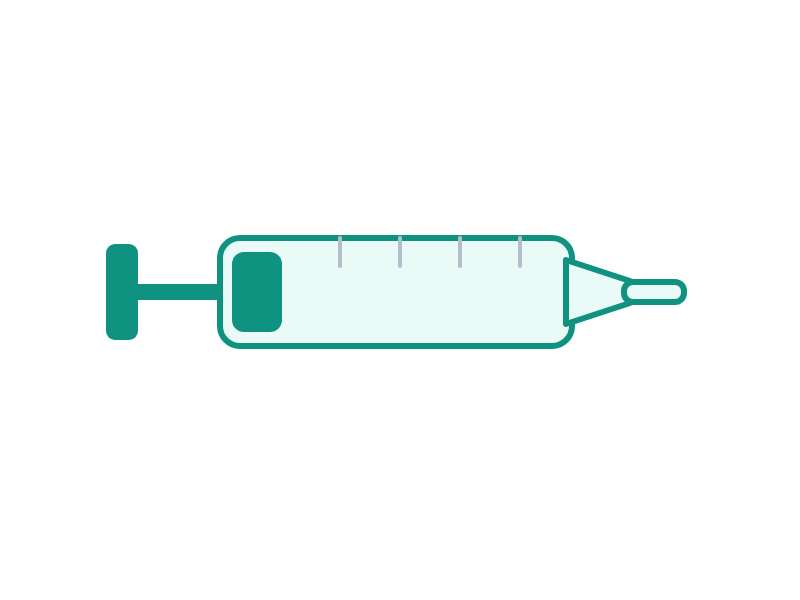
The metering device. A small piston or syringe that measures the injection volume. It has its own seal, and it wears the same way the pump seals do.
What you see
Carryover. A peak appears in a blank injection at the retention time of the compound you injected before it. This is the signature autosampler fault.
A blank run after a high standard, with nothing to integrate.
The same blank with a leaking needle seat or a worn rotor seal. The ghost peak sits at the retention time of the compound injected before it, which is the tell.
Carryover has several possible causes, and the parts are only one of them. A wash solvent that does not dissolve your analyte will give carryover with a perfectly good seat. Work through the wash first, because it is free.
Injection precision that drifts through a sequence. Area counts for the same standard slowly changing across 40 injections points at the metering seal or the seat.
A pressure step at the moment of injection. A worn rotor seal leaks at the valve, and the pressure drops when the valve turns.
Visible liquid around the injector. A leaking seat or rotor seal.
How long it lasts
Rotor seals are usually rated in injection counts rather than months, and the count depends on pressure. A system running at 600 bar wears a rotor seal much faster than one at 150 bar.
Needle seats are replaced on symptom.
Station 4: the column and the oven
What it does
The column is where the separation happens. Everything before it exists to deliver a reproducible stream of solvent with your sample in it. Everything after it exists to measure what comes out.
The oven holds the column at a set temperature, because retention changes with temperature and an uncontrolled column gives retention that moves with the room.
What wears
The column itself, which is a consumable rather than a spare part. Guard columns, which sit in front of the analytical column and are meant to be sacrificed. Fittings and ferrules, which seal the connections.
What you see
Rising back pressure with no other change. The column inlet frit is blocking, usually with particles from the sample or precipitated buffer. A guard column takes this hit if you fit one.
Peak shape going bad while retention stays the same. The column bed is disturbed or contaminated.
Retention drifting down over weeks. The stationary phase is being lost, which happens faster at low pH and high temperature.
Peak shape is the area where a beginner is most likely to blame the wrong thing. A fronting peak is frequently a sample solvent problem rather than a column problem, and a tailing peak on a basic compound is frequently a pH problem. Both look like the column has failed. Choosing a column for a polar analyte covers the selection side of this.
If your recovery is low rather than your peak shape being wrong, the cause is usually upstream of the instrument entirely. That is covered in Your recovery is low, and it is probably not the instrument.
Station 5: the detector
What it does
A UV detector shines light through the eluent as it leaves the column and measures how much is absorbed. More absorbance means more analyte.
The light comes from a deuterium lamp, which produces a continuous spectrum from roughly 190 to 400 nm. Instruments that also measure into the visible range carry a second, tungsten lamp for that region.
What wears
The lamp. Output falls over its working life. Lamps are sold with a rated life, commonly 1,000 or 2,000 hours, and the instrument counts the hours.
The flow cell. The windows get dirty or etched, and the cell can develop a leak.
What you see
A noisy baseline. As lamp energy falls, the detector needs more gain to see the same signal, and it amplifies noise along with it.
Detector noise is small enough that a real peak stands well clear of it.
Lamp energy has fallen, so the same detector gain now amplifies noise. A small peak disappears into this before anyone calls the lamp dead.
A small peak that was fine 6 months ago disappears into that noise. The limit of quantitation moves, quietly, and if you are running a validated method that is a real problem rather than an inconvenience.
Other things you see:
- A drifting baseline that follows the room, or follows the gradient. Gradient drift is usually a mobile phase absorbance difference rather than a lamp fault.
- The lamp will not ignite. Could be end of life, could be the power supply, could be an RFID tag the instrument cannot read. That last one is a settings problem rather than a broken part, and it is covered in Fitting a lamp with no RFID chip.
How long it lasts
The rated hours are a design figure, not a guarantee. Lamps are frequently replaced before they reach the rating, and some run well past it.
Before you order one, run the energy test the instrument already has and compare it against the value recorded when the lamp was new. That test costs nothing and it answers the question. Before you replace the deuterium lamp sets out the checks.
Getting the right lamp is a separate problem from knowing you need one, because the system badge on the front does not decide which lamp fits. Which lamp your Agilent detector takes explains how to read the module number.
Symptom to station
This is the table to keep. Read across from what you see.
| What you see | Look here first | Usually this | Usually not this |
|---|---|---|---|
| Pressure swinging with the pump stroke | Pump | Check valve not seating, or a worn piston seal | The column |
| Pressure swinging on one channel only | Solvent inlet | Blocked inlet frit on that line | The pump |
| Pressure slowly rising over days | Column | Blocked column or guard frit | The pump |
| Pressure lower than it used to be | Pump | A leak, or a check valve passing backwards | The detector |
| Wet pump head, white crust | Pump | Piston seal, and a seal wash that is not working | The plunger alone |
| Retention drifting between injections | Pump | One channel delivering short, so composition is off | The column |
| Retention drifting down over weeks | Column | Stationary phase loss | The pump |
| Peak in a blank at a previous retention time | Autosampler | Wash solvent first, then needle seat or rotor seal | The column |
| Injection precision drifting through a sequence | Autosampler | Metering seal or needle seat | The detector |
| Pressure step at the moment of injection | Autosampler | Worn rotor seal | The pump |
| Noisy baseline | Detector | Lamp energy falling, or a dirty flow cell | The column |
| Baseline drifting with the gradient | Mobile phase | Absorbance difference between the two solvents | The lamp |
| Peak fronting | Sample | Injection solvent stronger than the mobile phase | The column |
| Peak tailing on a basic compound | Mobile phase | pH too close to the compound’s pKa | The column |
The last column is there on purpose. Most wasted days come from replacing something in it.
Parts that have to be replaced together
Three pairs. Getting these wrong is what makes a repair get done twice.
Plunger and piston seal. A scored plunger will destroy a new seal. If the plunger is out, look at it under magnification before you fit anything.
Wash seal and main seal. They sit in the same assembly and they protect each other. Replacing the main seal while leaving a failed wash seal in place puts the new seal into the same conditions that killed the old one.
Needle and needle seat. A bent or rough needle scores a new seat quickly. If the seat failed, look at the needle before fitting the replacement.
What not to replace first
The parts that get blamed first are the parts that are easiest to name.
The lamp gets blamed for a noisy baseline, because it is the one part in a detector that people know wears out and it has an hour counter. Run the energy test before ordering.
The column gets blamed for pressure that is rising, and sometimes it should be. Check the guard column and the inlet frit first, because both are cheaper and both block sooner.
The check valves get blamed for unsteady pressure, and often the seal is the real cause, or the inlet frit is. There is a test that separates them and it takes 10 minutes.
The pattern is the same in each case. The easiest part to name is the one replaced first, and often it was still working.
Working out which is which is most of the skill, and it is free. The part is the cheap bit.
Where this leaves you
If you are new to the instrument, three things carry most of the value:
- Learn the stream. Bottle, pump, injector, column, detector. Place any symptom on that line before you touch anything.
- Look at the pressure trace every day, not just when something is wrong. You cannot recognise an abnormal trace until you know the normal one for your system.
- Check the free things first. The energy test, the wash solvent, the inlet frit, the guard column. All of them cost nothing and each rules out a station.
The parts described here are the ones I supply, and they are listed on the instrument parts page with the original part numbers, so you can match them against what is in your instrument. If you already have a part number off the old part, the cross-reference list is the faster way in.
If your system is doing something and you are not sure which station it belongs to, send me the symptom in one line and what the pressure trace looks like. I will tell you where I would look first, whether or not there is a part in it.